Cambium Networks XMS-Cloud Part Two
Cambium Networks XMS-Cloud: Network Configuration and Zero Touch Provisioning
INTRODUCTION
Welcome to our second blog post covering Cambium Networks XMS Cloud. By now you should have already read our first blog, if you haven’t then read it here, and come back once you’re done. In this post, we will look into network configuration and zero-touch provisioning with a step by step guide.
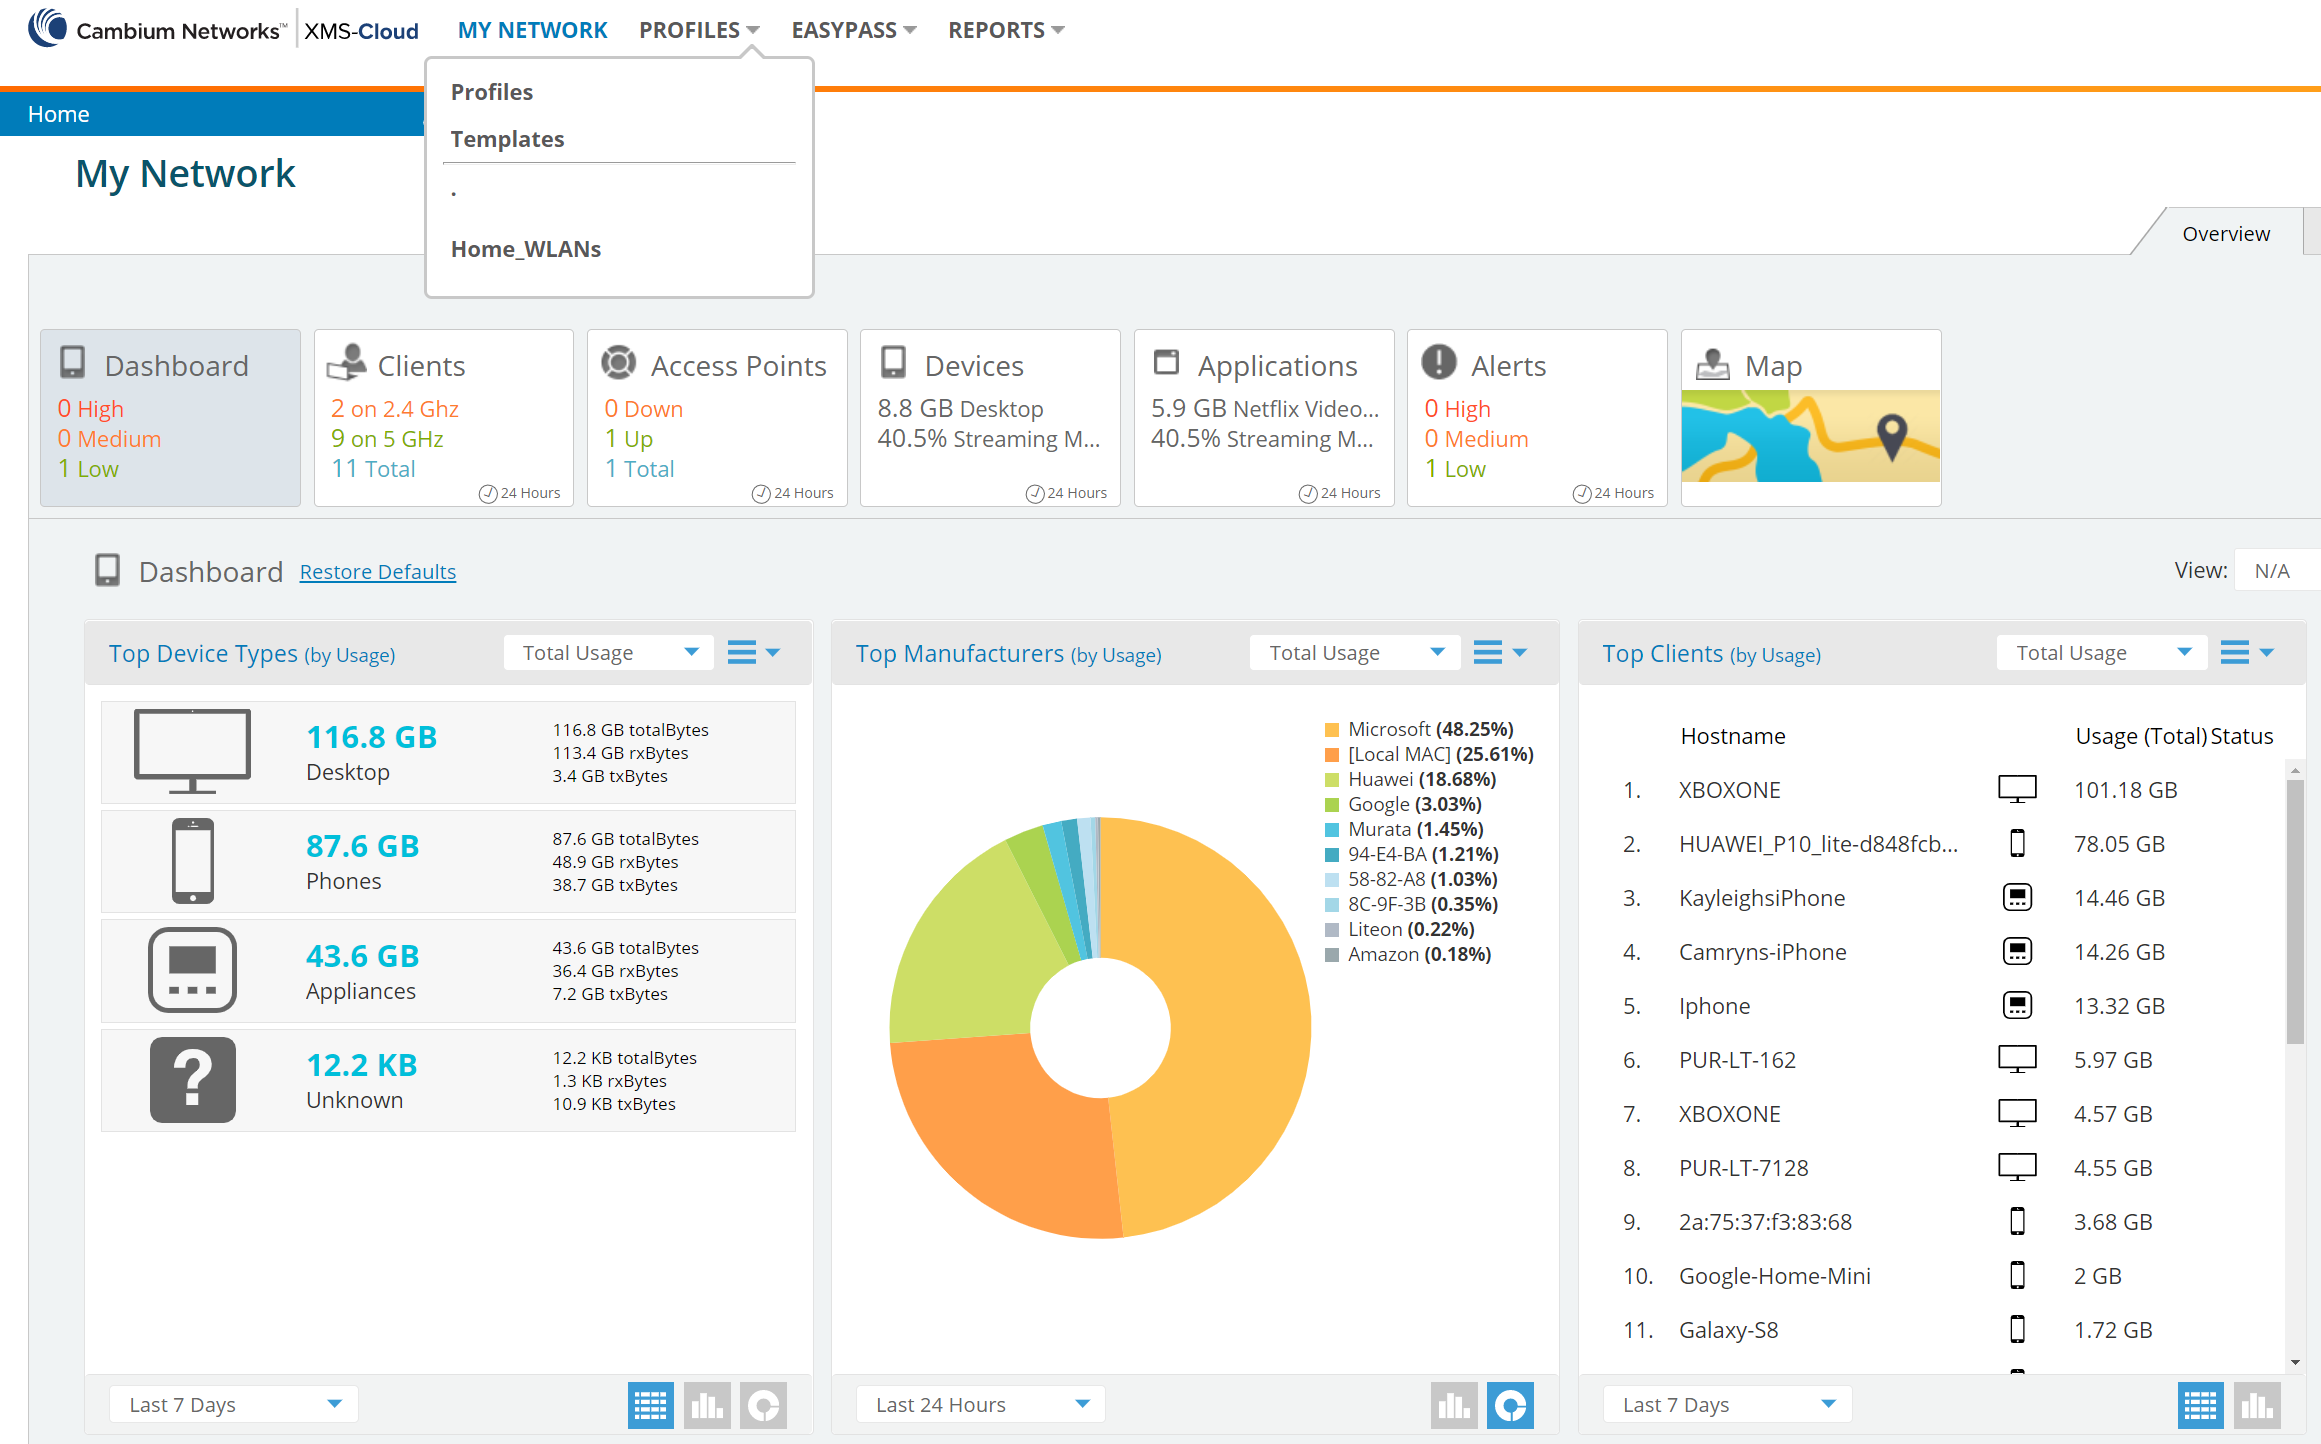
Configuring and managing access points (APs) is made simple and easy by creating network profiles. Network profiles are templates that are pushed to all the APs that are a member of each profile. When you add an AP to the profile the configurations are automatically pushed through, with this you will have a consistent image across the entire network on all APs. If you make changes to a profile these will automatically transfer to the APs included in the profile.
Below we will cover the steps in creating a profile.
CREATING A PROFILE
Step One
Create a Profile. A profile is used to configure SSIDs, VLANs, Uplink Ports, Network Settings, Application Control Policies and more….
Step Two
Name the profile an easily discernible description

The system interface is designed to be simple and intuitive, follow a left to right workflow through the configuration tiles to create the desired profile.

Step Three
Network
Configure IP address, DNS, Ports and VLANs

Step Four
Access Points
Create your SSID, Band, Encryption/Authentication, VLAN, Schedule, Access Control


Step Five
VLANs
You should create VLAN entries for all the VLANs in your wired network if you wish to make traffic from those VLANs available on the wireless network. Each tagged VLAN should be associated with an SSID. The AP will discard any VLAN-tagged packets arriving on its wired ports unless the same VLAN has been defined.


Step Six
Policies
Manage applications based on the “SSID Policy”, Active Directory User Group “User Group Policy” like Active Directory or even based on device type “Device Policy”.

Create firewall rules at layers 2,3 & 4 of the TCP/IP protocol stack and Application Control policies at layers 5,6 & 7 are defined in this tab.


Step Seven
Save Configuration allows us to Push Now or Schedule Push.
Push Now sends configurations out usually within 15 – 20 seconds, other competitors can take as long as 2, 3 5 or even 15 minutes.
Schedule Push sends out the configurations at a predetermined time allowing the network administrator to perform changes to the network for example overnight or according to network change policies.


Step Eight
Assign a Default Profile
Assign as Default allows you to ensure all new APs installed and added to the Network take on this profile, making this a truly Zero-Touch approach for managing the network.

CONCLUSION
We hope these steps have helped you to configure and manage APs by creating network profiles.
If you’re interested in any of the products or services mentioned above, please get in contact:
+44 (0)1488 647 647